Importing Brave Wallet into Metamask: A Step-by-Step Guide
Are you looking to integrate your Brave wallet with Etherscan for seamless transactions with your Ethereum-based smart contracts? Fortunately, there’s a simple solution that allows you to import your Brave wallet into Metamask. In this article, we’ll walk you through the process of importing your Brave seed into Metamask.
Why Metamask and WalletConnect are Not Enough
Before we dive in, it’s essential to understand why Etherscan only supports two wallets: MetaMask and Web3py-WalletConnect. This is because both wallets provide a secure way to store and manage private keys for your Ethereum accounts, making them ideal for decentralized applications (dApps) built on the Ethereum blockchain.
However, when interacting with smart contracts that require a specific contract address or function, Etherscan only supports these two wallets due to their respective security features. This is where Metamask comes in – it is a popular alternative wallet that provides additional security and functionality for your Ethereum accounts.
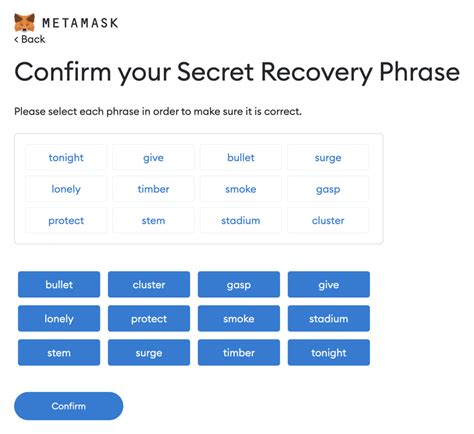
Importing Brave Wallet into Metamask: The Process
To import your Brave seed into Metamask, follow these steps:
- Download the MetaMask Browser Extension: First, you need to download the official MetaMask Browser Extension from the MetaMask website. This will allow you to manage your Ethereum accounts and interact with smart contracts in a more convenient way.
- Create an account on MetaMask: Once downloaded, create an account on MetaMask by clicking “Sign up” and following the prompts.
- Set up your wallet: After creating your MetaMask account, set up your wallet by linking it to your Brave address. You can do this by clicking on “Wallet” and then selecting “Create New Wallet.
- Import your Brave seed into Metamask: To import your Brave seed into Metamask, follow these steps:
* Go to the MetaMask browser extension
* Click on “Settings”
* Select “Wallets”
* Find your Brave wallet in the list and click on it
* In the “Actions” tab, select “Import/Export Private Key”
* Enter your 12-word phrase as the password (this is a backup of your private key)
* Click “Import”
Verify Your Import
After importing your Brave seed into Metamask, you can verify that it is working by:
- Open MetaMask and click on the “Wallet” menu
- Selecting “Advanced Options”
- In the “Private Keys” section, you should see your 12-word phrase as the backup of your private key
Testing Your Import
Once you’ve verified that your import is successful, you can start testing your interactions with Etherscan-enabled contracts using Metamask. You’ll need to:
- Install the necessary dependencies and libraries for interacting with your contract
- Set up your contract interface in Metamask’s “Web3.py” extension
- Call the contract function that requires your private key
- Test your interactions by deploying a new smart contract or using an existing one
Conclusion
By following these steps, you can successfully import your Brave seed into Metamask and interact with Etherscan-enabled contracts. This allows for more flexibility and control over your Ethereum account management, making it easier to build and deploy decentralized applications on the blockchain.
We hope this article has been helpful in getting you started with integrating your Brave Wallet with Metamask. If you have any questions or need further assistance, feel free to ask!
Leave a Reply